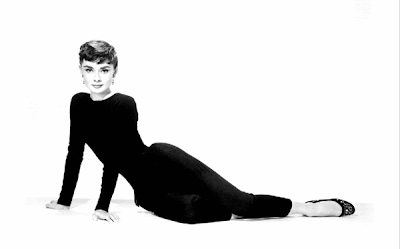
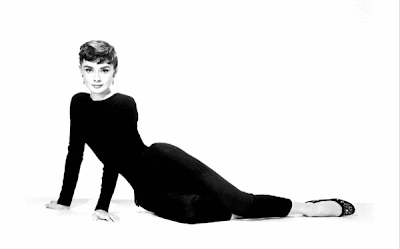
Here is a black & white photo.

And this is the one colored by Photoshop:


Let's first open a black & white photo:

Change its color mode by Image - Mode - RGB color (Make sure you select it !):


Zoom in till 200%.
Select the Magnetic lasso tool and make sure the settings like this:
Set Feather to 1px, check Anti-aliased, set Width to 10px, set Edge Contrast to 10%, and Frequency to 100.

Click on the edge of any object: Hair, face, body, shoes, hands etc. Move your mouse around the edges of the object until you complete selection.
Press Ctrl+J to make Layer via Copy
Select Image - Adjustments - Hue/Saturation and select Colorize:
Adjust the Hue/Saturation and Lightness till it looks realistic:

Repeat things above for the rest of the photo:
Select Layer - Flatten Image.
Select Image - Adjustments - Auto Levels & Auto Contrast & Auto Color.

No comments:
Post a Comment