Hi friends here we are providing u short tutorial on Photomanipulation technique which i have collected from a top site and also i am providing you the top examples and pictures created using photo Manipulation techniques. Let us see the tutorial and it continues with the best collections of Photo Manipulation Art.
Step 1
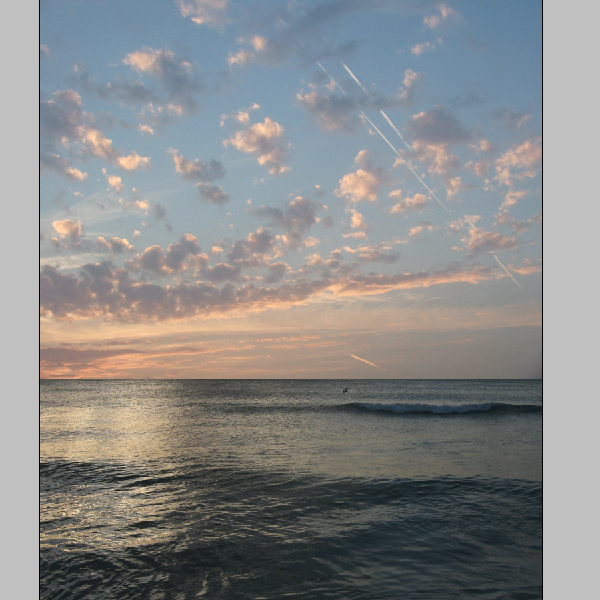
I won’t insist on the easy parts because this is pretty obvious. First, open the two pictures that are going to form our next background and flip them horizontally (Edit > Transform > Flip Horizontally) and just place them like I did in the image. It’s not necessary to mask anything because the pictures fit just perfect one to the other.
Step 2
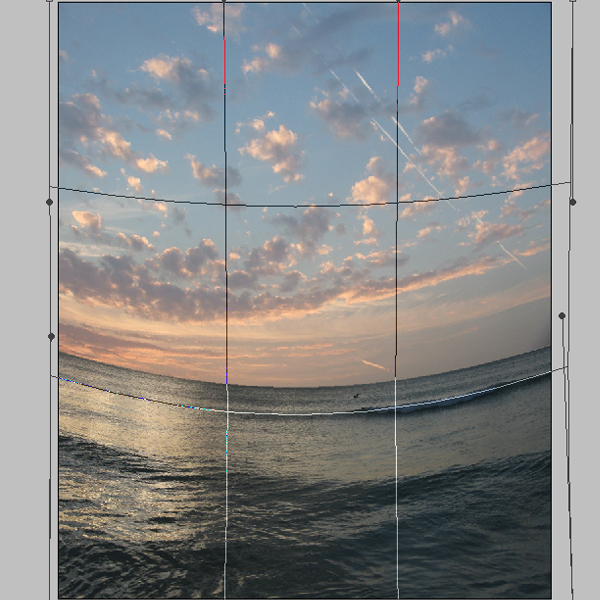
Now let’s give this background a dynamic sensation with the Warp Tool (Edit > Transform > Warp).
Step 3
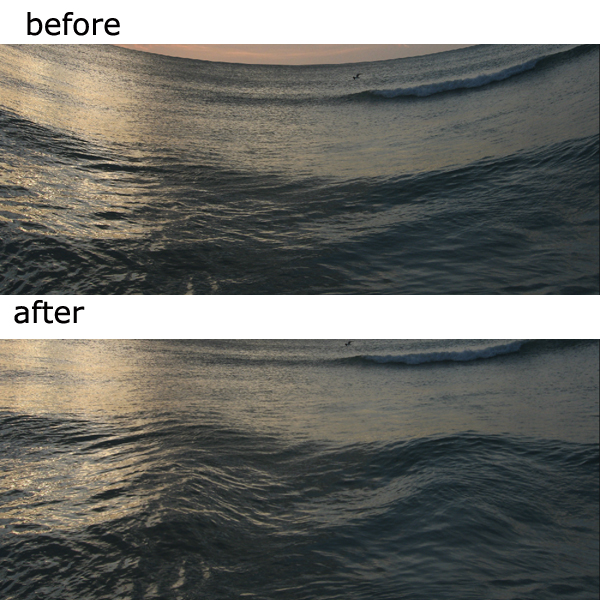
Since the warp tool gives the image a flat look, we need to do some waves so go to Liquify (Filter > Liquify). Use the picture below as a reference for how the waves should look after manipulation with Liquify.
Step 4
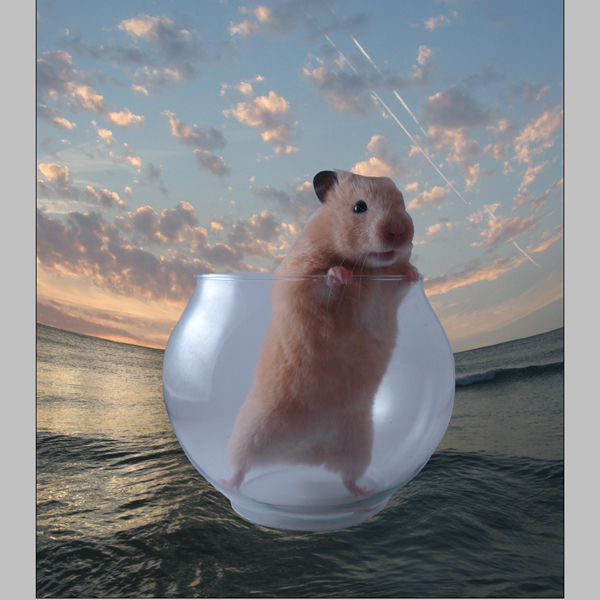
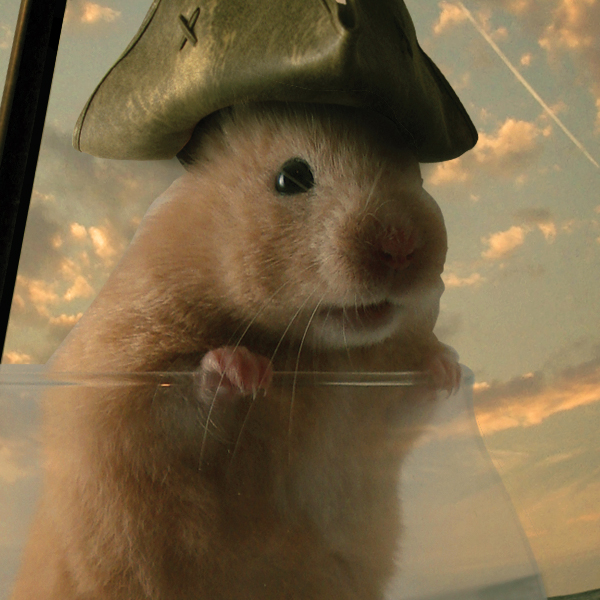
Cut out the funny hamster with the Pen Tool and place them in the middle of the ocean.
Step 5
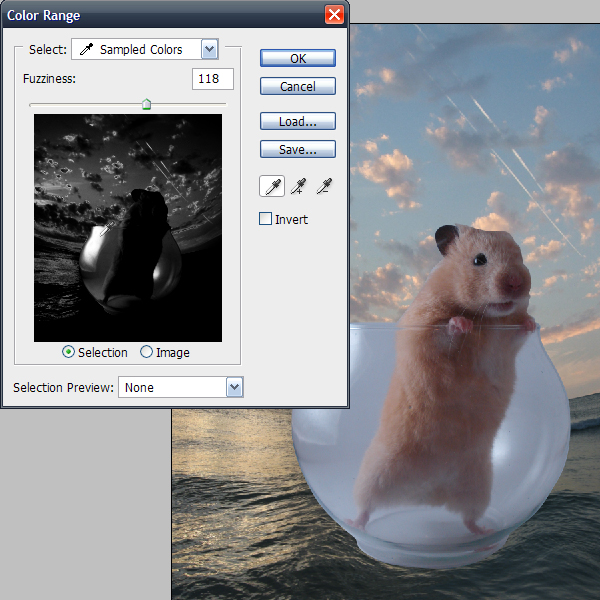
Go to Edit/Color Range and click on the lightest color in the image (the highlight on the glass). Arrange the fuzziness value like in the image below.
Step 6
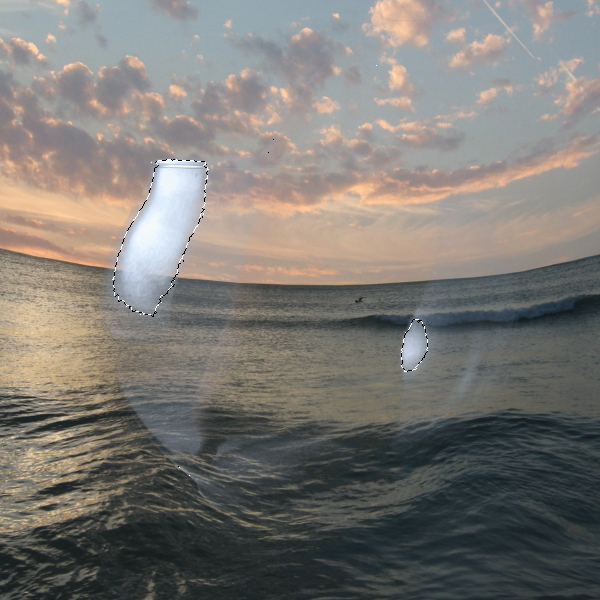
Click OK on the Color Range dialog box and you will see the selection active. Then make sure you are on the glass layer and click Command + J to create a copy of the highlights from the glass. If you hide the glass layer your selection should look something as in the image below.
Step 7
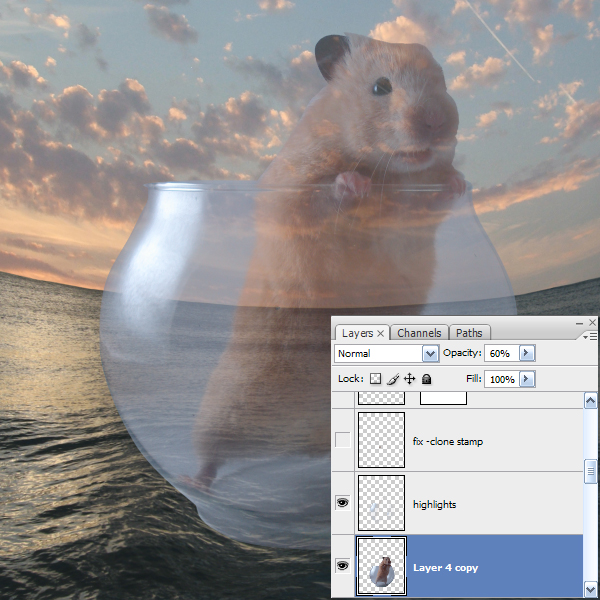
Hit Command + D to make sure there is nothing selected, and then go on the glass layer and make a duplicate (Command + J) and lower the opacity of the copy layer to around 60% like in the image below. You will see the highlights are now sharp and white like on real glass not transparent and gray.
Step 8
Now we must bring the mouse back. You could use the Pen Tool and cut him out, but there is a faster way and the result is just as good. Bring the original glass layer in front of the highlights layer and glass copy layer. Make a mask and paint with black, leaving the mouse with white. Make sure you don’t go near the mouse with a soft edge brush.
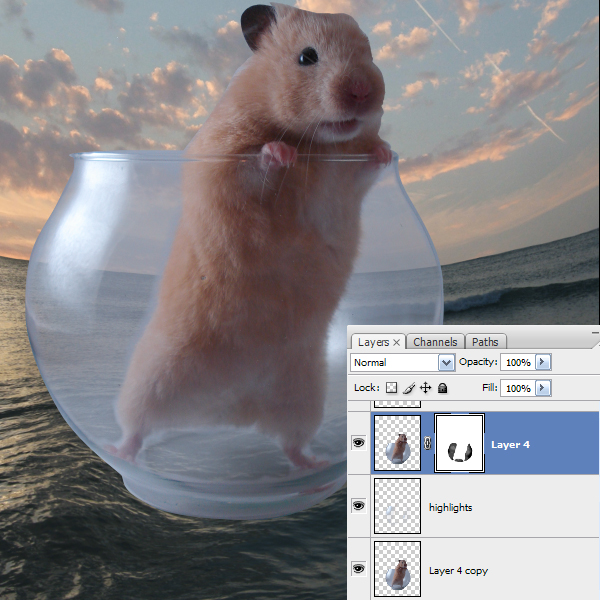
Step 9
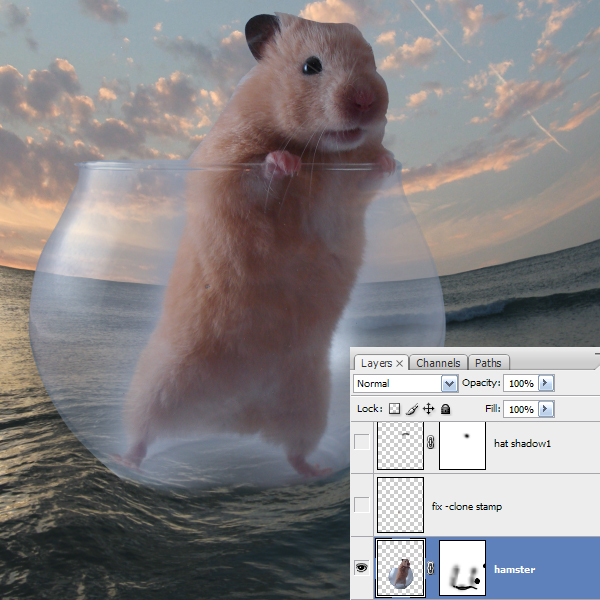
Select the three layers (“original glass,” “glass copy,” and “glass highlights”) and hit Command + E to merge the three layers. Then create a mask and mask the lower part of the glass so it looks like it’s underwater. If you are not very satisfied with the result, you can use a low opacity brush and mask some areas on the glass that you think should be more transparent.
Step 10
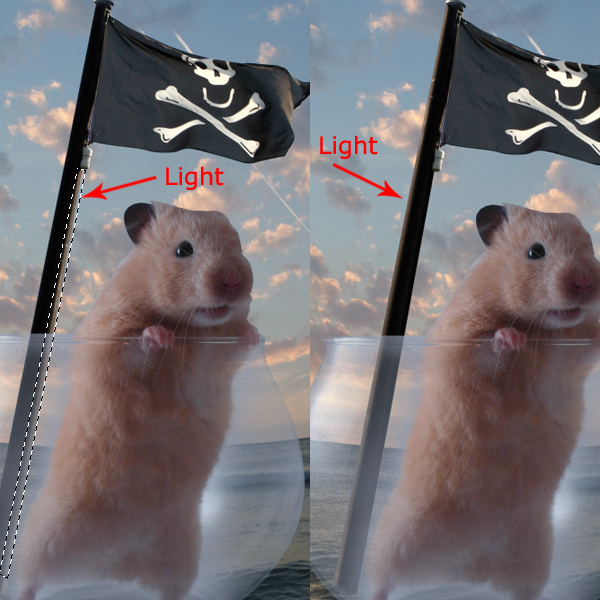
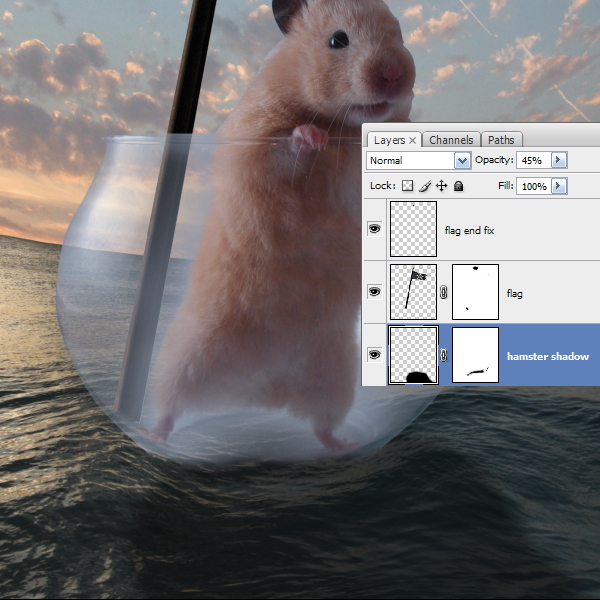
Add the flag. You will have to change the highlights on the flag pole. Select them like in the image below, hit Command + J and move the highlights to the left of the pole and then paint with a brown color (use the eyedropper on the pole) on the original highlights.
Step 11
Using the brush with a black color, make a shadow like in the image below and lower the opacity to 45%.
Step 12
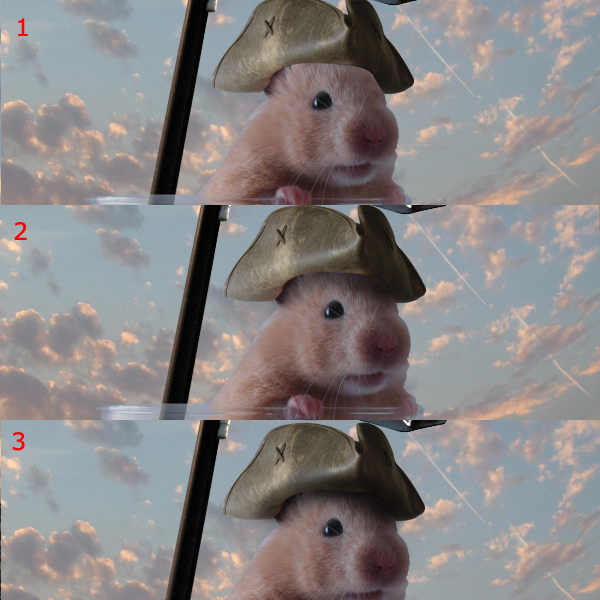
Cut the pirate hat and arrange the size to fit on the head of the hamster (1). Then on a new layer just under the hat layer, paint some shadow on the head of the hamster using a soft edge and low opacity black brush (2). Then on a new layer in front of the hat layer paint some shadow on the hat, again using a low opacity and soft edge brush (3).
Step 13
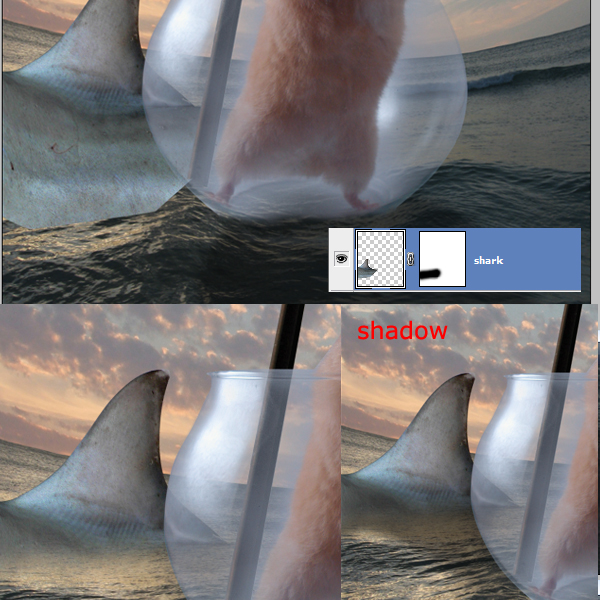
In this step we will add the shark to make this image more funny. Cut out the shark’s fin and place it under the “hamster” layer. Cover it on the mask and paint a shadow with black on another layer. Set its opacity to 30-40%.
Step 14
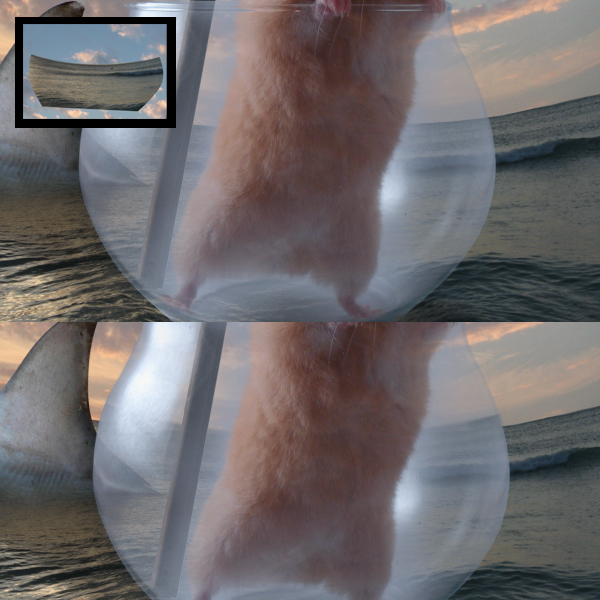
Next cut out the sea behind the ball and place it like I did in the image. This is how the water is seen through a round glass like the ball
Step 15
Now let’s give this image a cool look with some filters and adjustment layers. First go to Adjustment Layers > Curves (Input 91 Output 41), then Erase the middle of the mask.
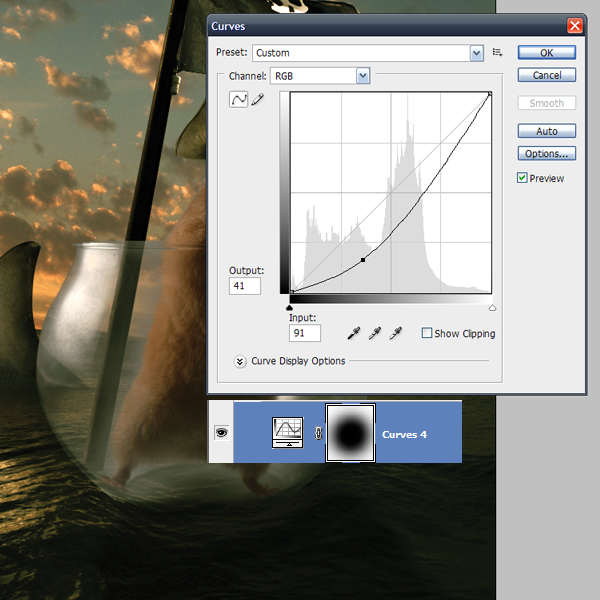
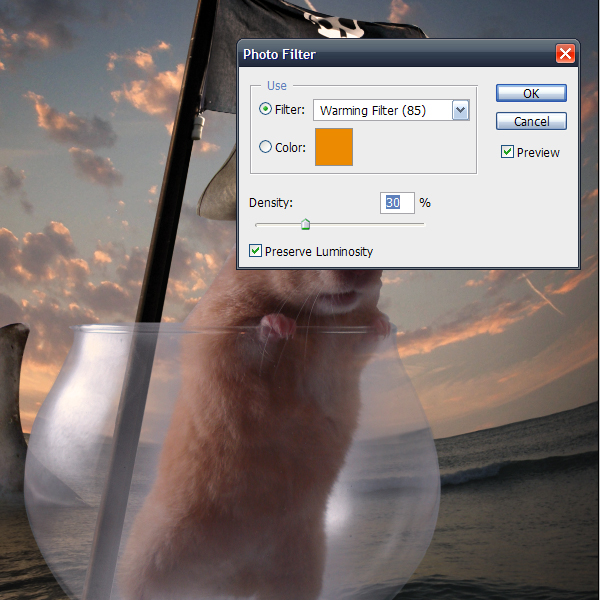
Apply an Adjustment Layers > Photo filter (orange at 30%).
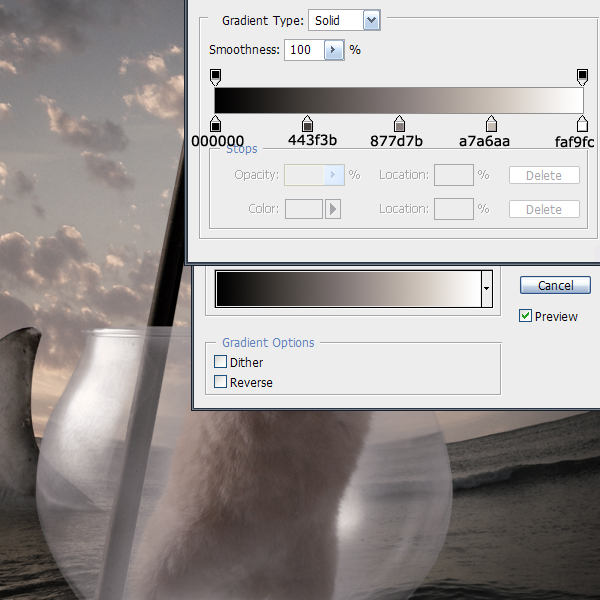
Apply an Adjustment Layers > Gradient Map (Opacity at 60%).
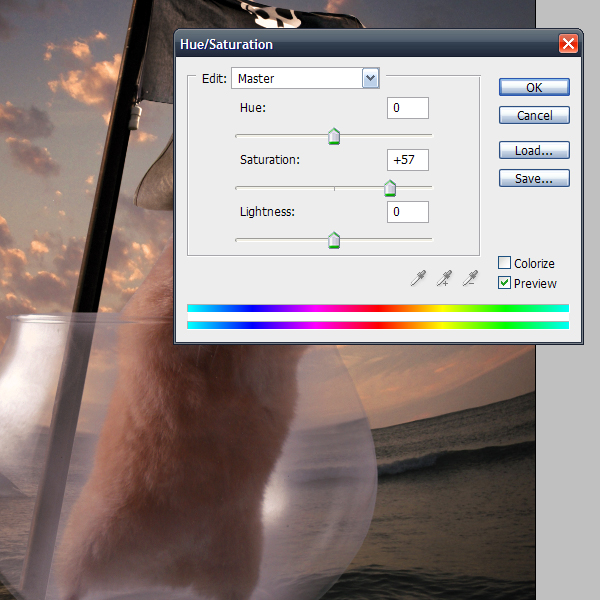
Apply an Adjustment Layers > Hue/Saturation (Saturation at +57).
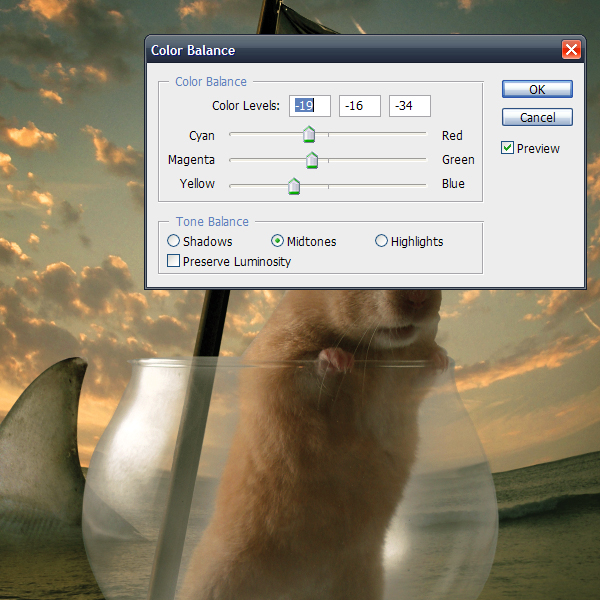
Apply an Adjustment Layers > Color Balance (Levels at -19, -16, and -34).
Step 16
Grab the Smudge Tool (strength at 90% and brush size 2-4 px), and start smudging the hamster’s fur like I did below.
Step 17
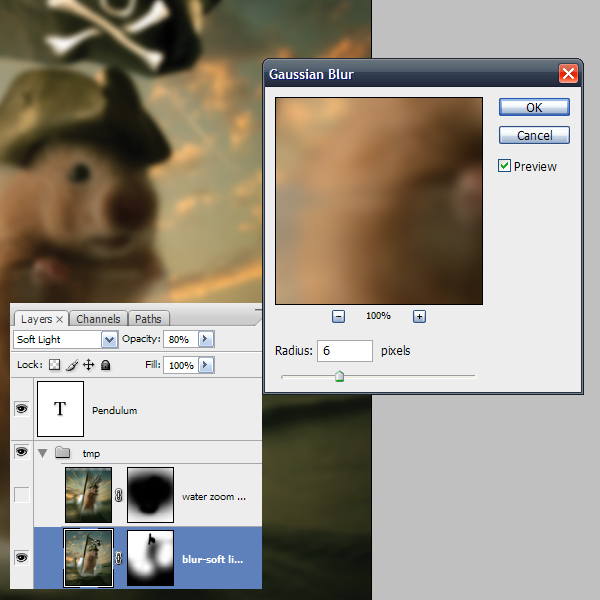
Go to Filters > Blur > Gaussian Blur (6 px) and change the blending mode to Soft Light. Use the image below as a reference for how the layer mask should look for this step.
Step 18
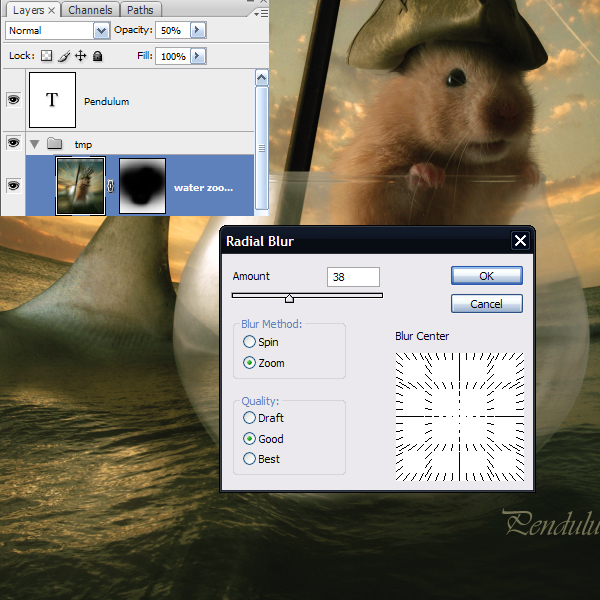
Go to Filters > Blur > Radial Blur and use the settings in the image below. Click OK, lower the Opacity of the zoom layer to 50 and mask it in the center. This will give the image some light dynamics.
Conclusion
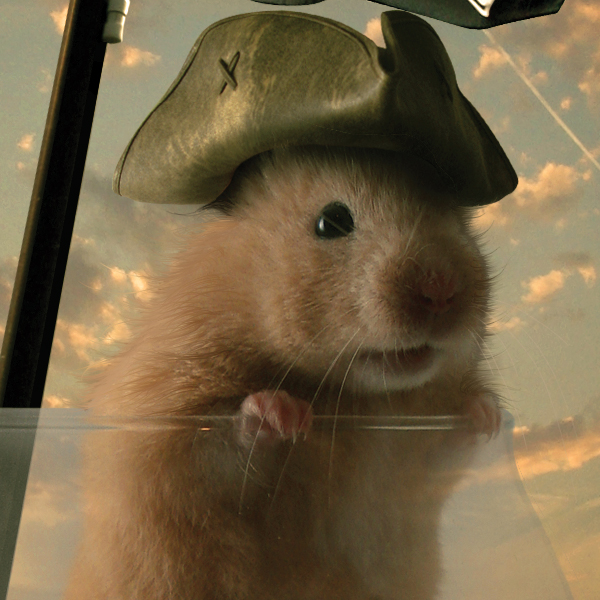
The final image is below.


No comments:
Post a Comment